
so a couple of people have asked me how do you upload blog banners.
step 1: go on your blogger dashboard, then click on your blog.

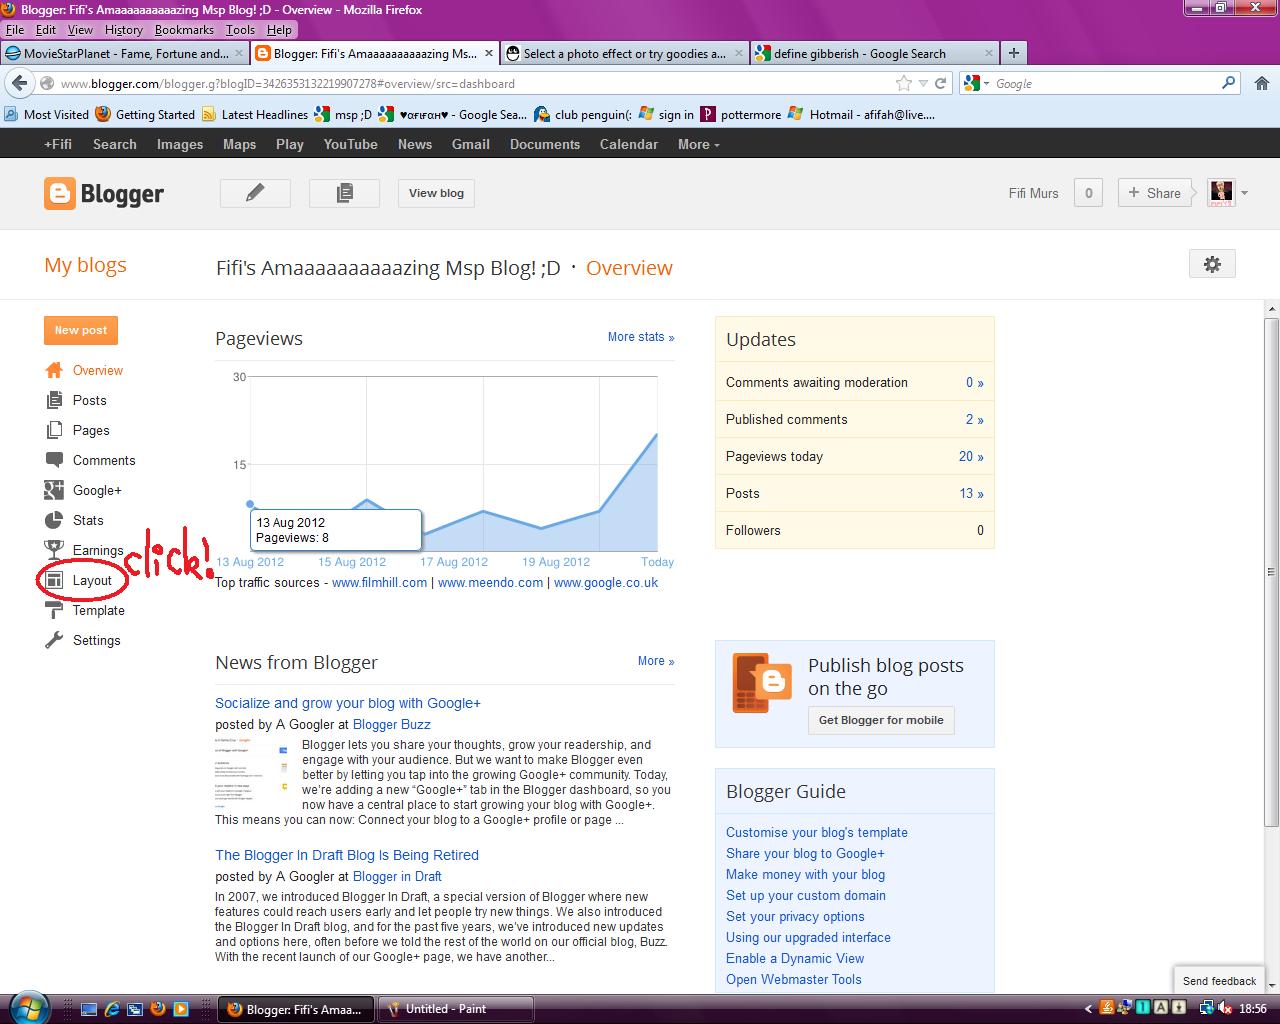
step 2: on the menu on the left hand side it says layout, click on that.

step 3: a bunch of boxes will come up. they are the templates for your blog. there should be a box with the name of your blog on it (in my case it's fifi's amaaaazing blog). in that same box should be a little link that says edit. click on that.

step 4: once you've done that, this window should pop up. you need to select the option 'Image: from your computer'. click browse and get the image you want as your banner from your pc.

step 5: underneath that it says Placement: and then you have a bunch of options. click 'Instead of title and description' if you want just an image or 'Have a description placed after the image' if you want a description of your blog there too (on my screen cap i selected the image only one). then click save.

step 6: once you've done that, your blog banner is in place! ;D but the sizing and the widths may be wrong, so you need to edit to make sure. (it's not wrong for everyone). to do that, on the left hand side menu click template then customise.

step 7: once you've done that, it will redirect you onto the editing of your blog page thingy (great terminology ;D). click on adjust widths and then slide the slidey thing up and down until it fits the preview at the bottom of the screen. then click apply to blog (the button of apply to blog on mine is half cut out but i cba to do it again. sorry).

step 8: once you're done, click view blog and voila! your very own blog banner.
you're welcome :D if you need any more help, just ask and i'll go over it for you :3
No comments:
Post a Comment